Upload Process
The upload process consists of the following steps:1
Open Document View
Navigate to the desired document type (e.g., dispatch notification or invoice) and click “Create.”
2
Select Upload Method
In the dropdown menu, choose between:
- “Create Manually” for an empty input form
- “Upload Document” for the PDF upload
3
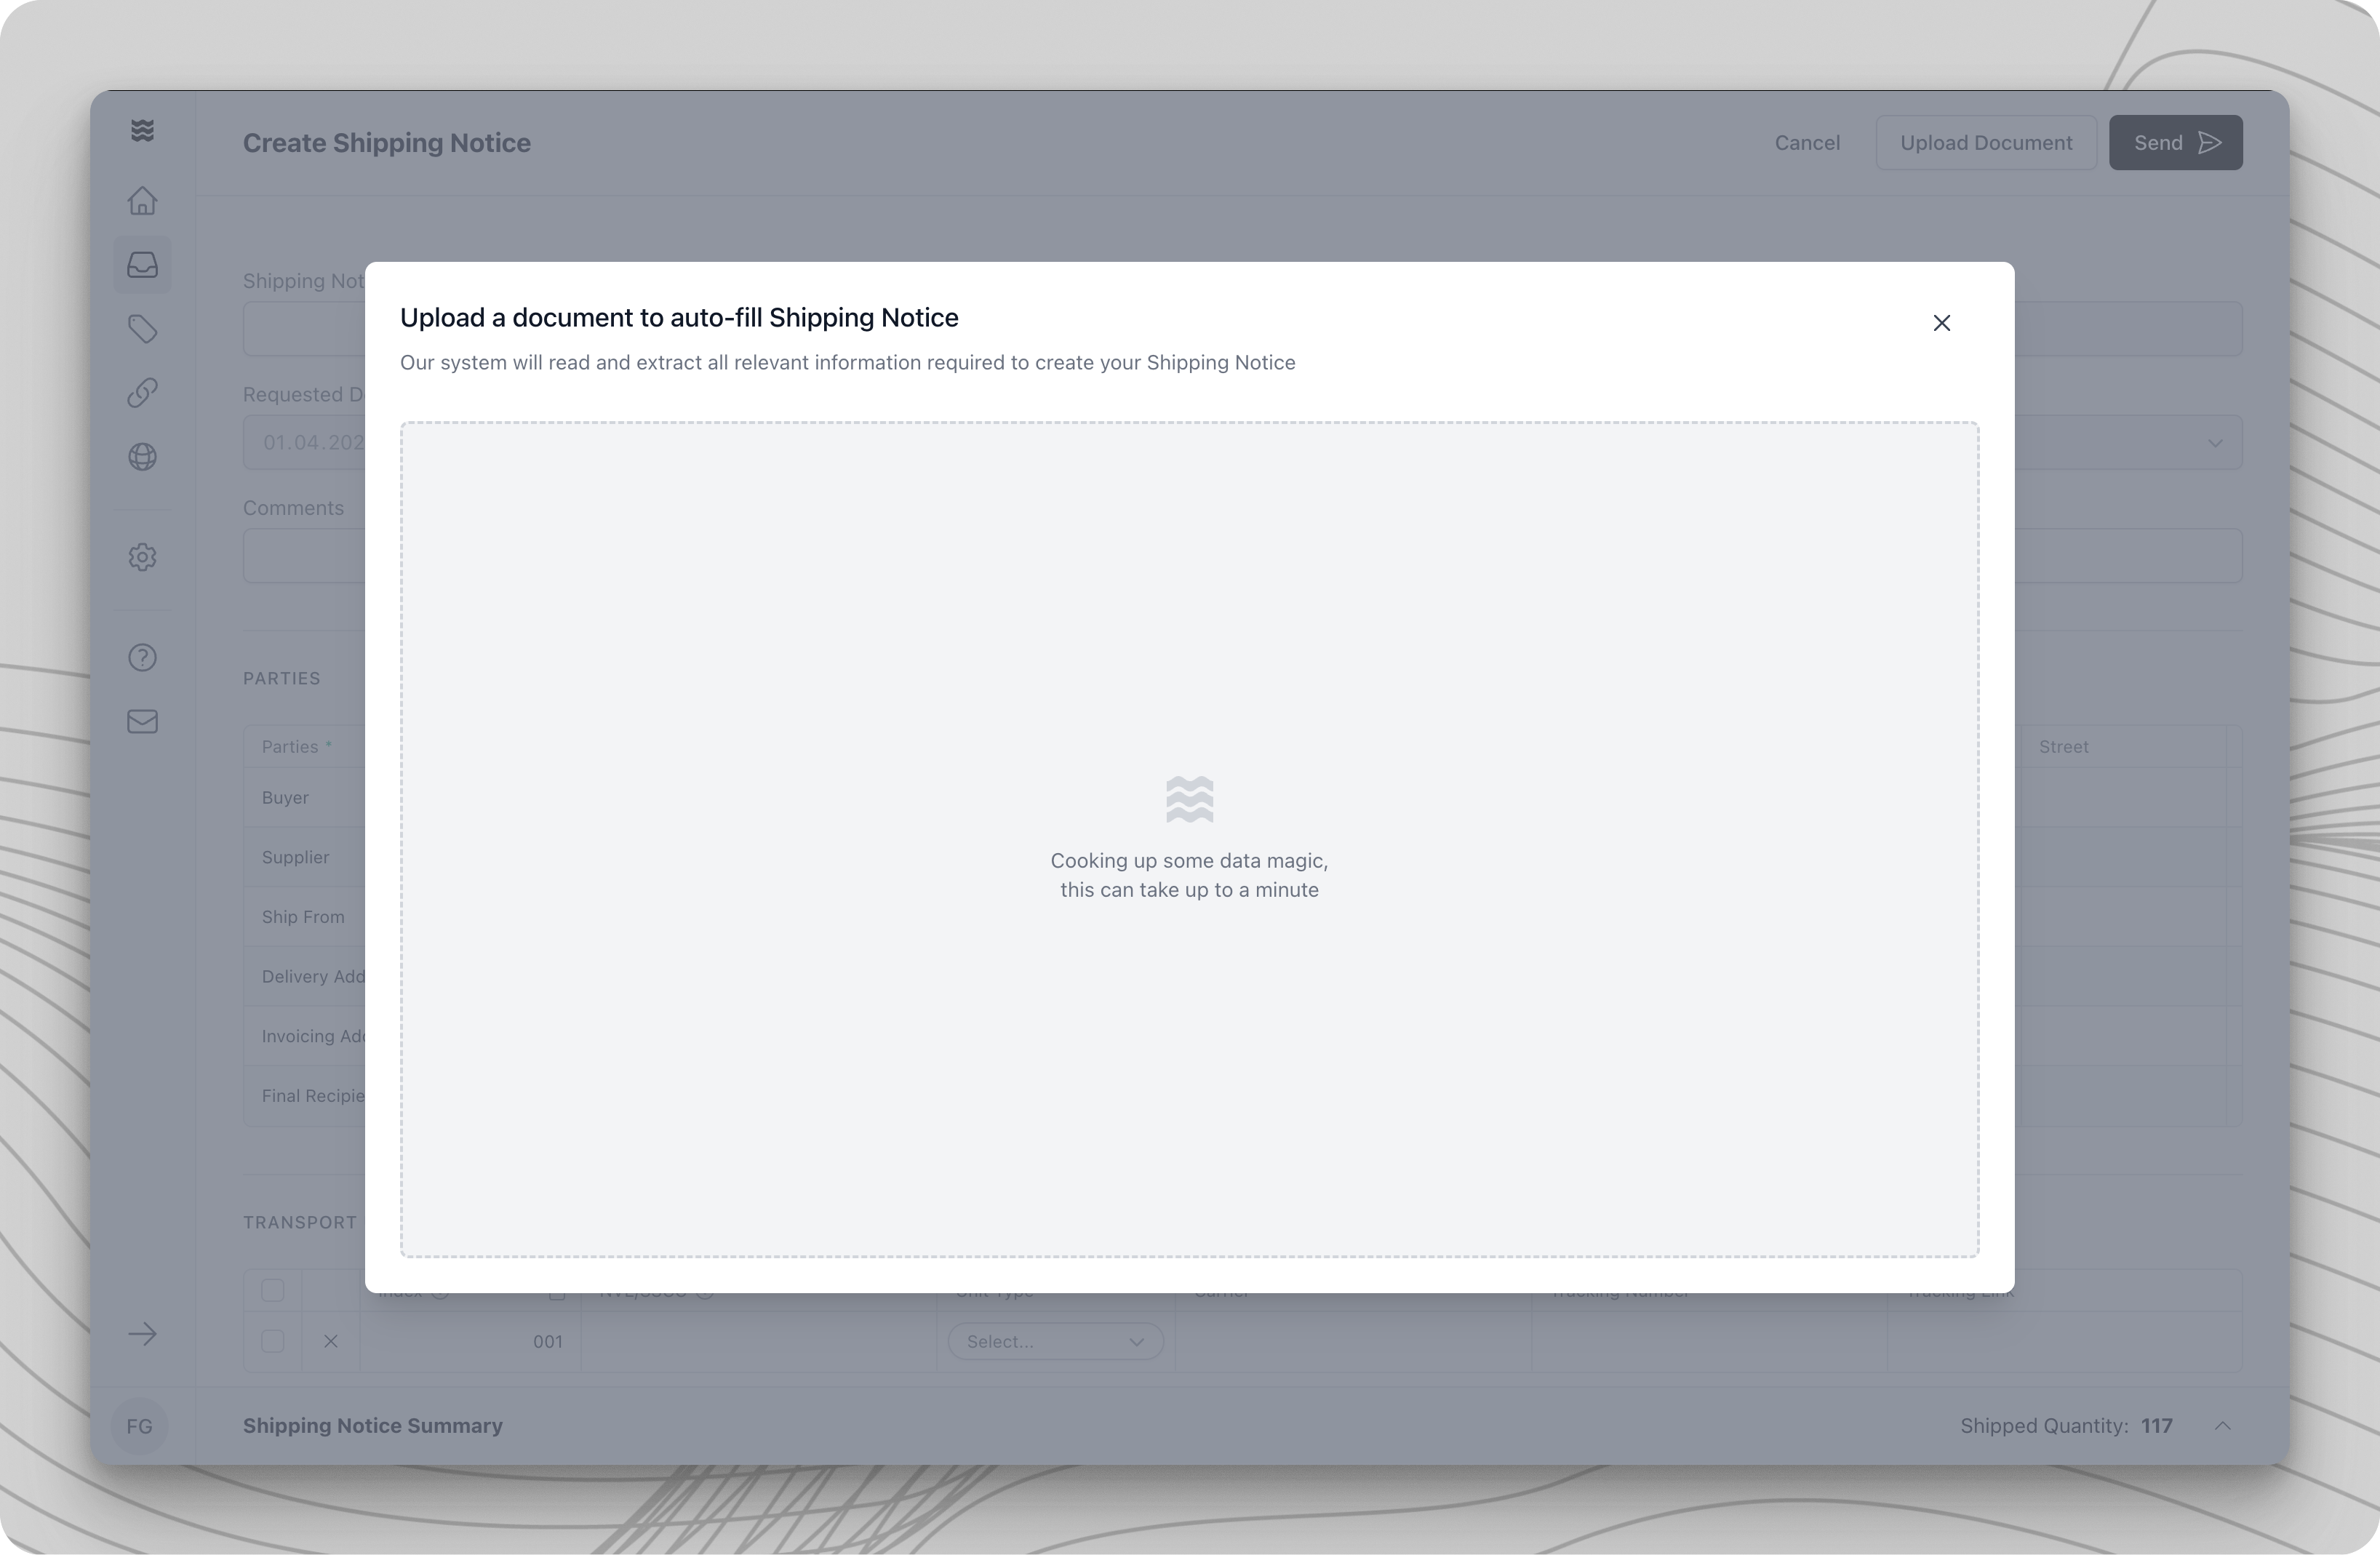
Upload File
In the upload section, you have two options:
- Drag & Drop the file into the designated area
- Click “Upload File” to select a file from your computer
Processing Additional Positions
The system automatically detects positions that are not part of the original order. These are displayed in a separate dialog, “Additional Items Detected.”
- “Keep All Items”: Retains all additional positions
- “Discard All Items”: Removes all additional positions
- Individual Selection: Use the dropdown menu in the “Action” column to selectively keep or discard specific positions
Reviewing Extraction Results
After document extraction, the system displays an overview with color-coded markings:- Green: Successfully matched positions (corresponding between order and document)
- Blue: Additional positions (e.g., free samples, unordered items)
- Yellow: Missing positions (ordered items not found in the document)
Processing Consolidated Shipments
Please follow these steps:- Re-upload the document for each included order
- Select “Discard all items” for positions from other orders
- Keep only the positions belonging to the current order
Data Verification and Finalization
After applying the extraction:- Carefully review all pre-filled data
- Pay special attention to:
- Shipped quantities
- Delivery date (if not specified on documents)
- Complete missing mandatory fields (marked with *)
- Confirm by clicking “Send” after full verification
Next Steps
After a successful upload, you can:- Send the document to your trading partner
- Generate follow-up documents such as invoices if needed
- Track the document status in the overview