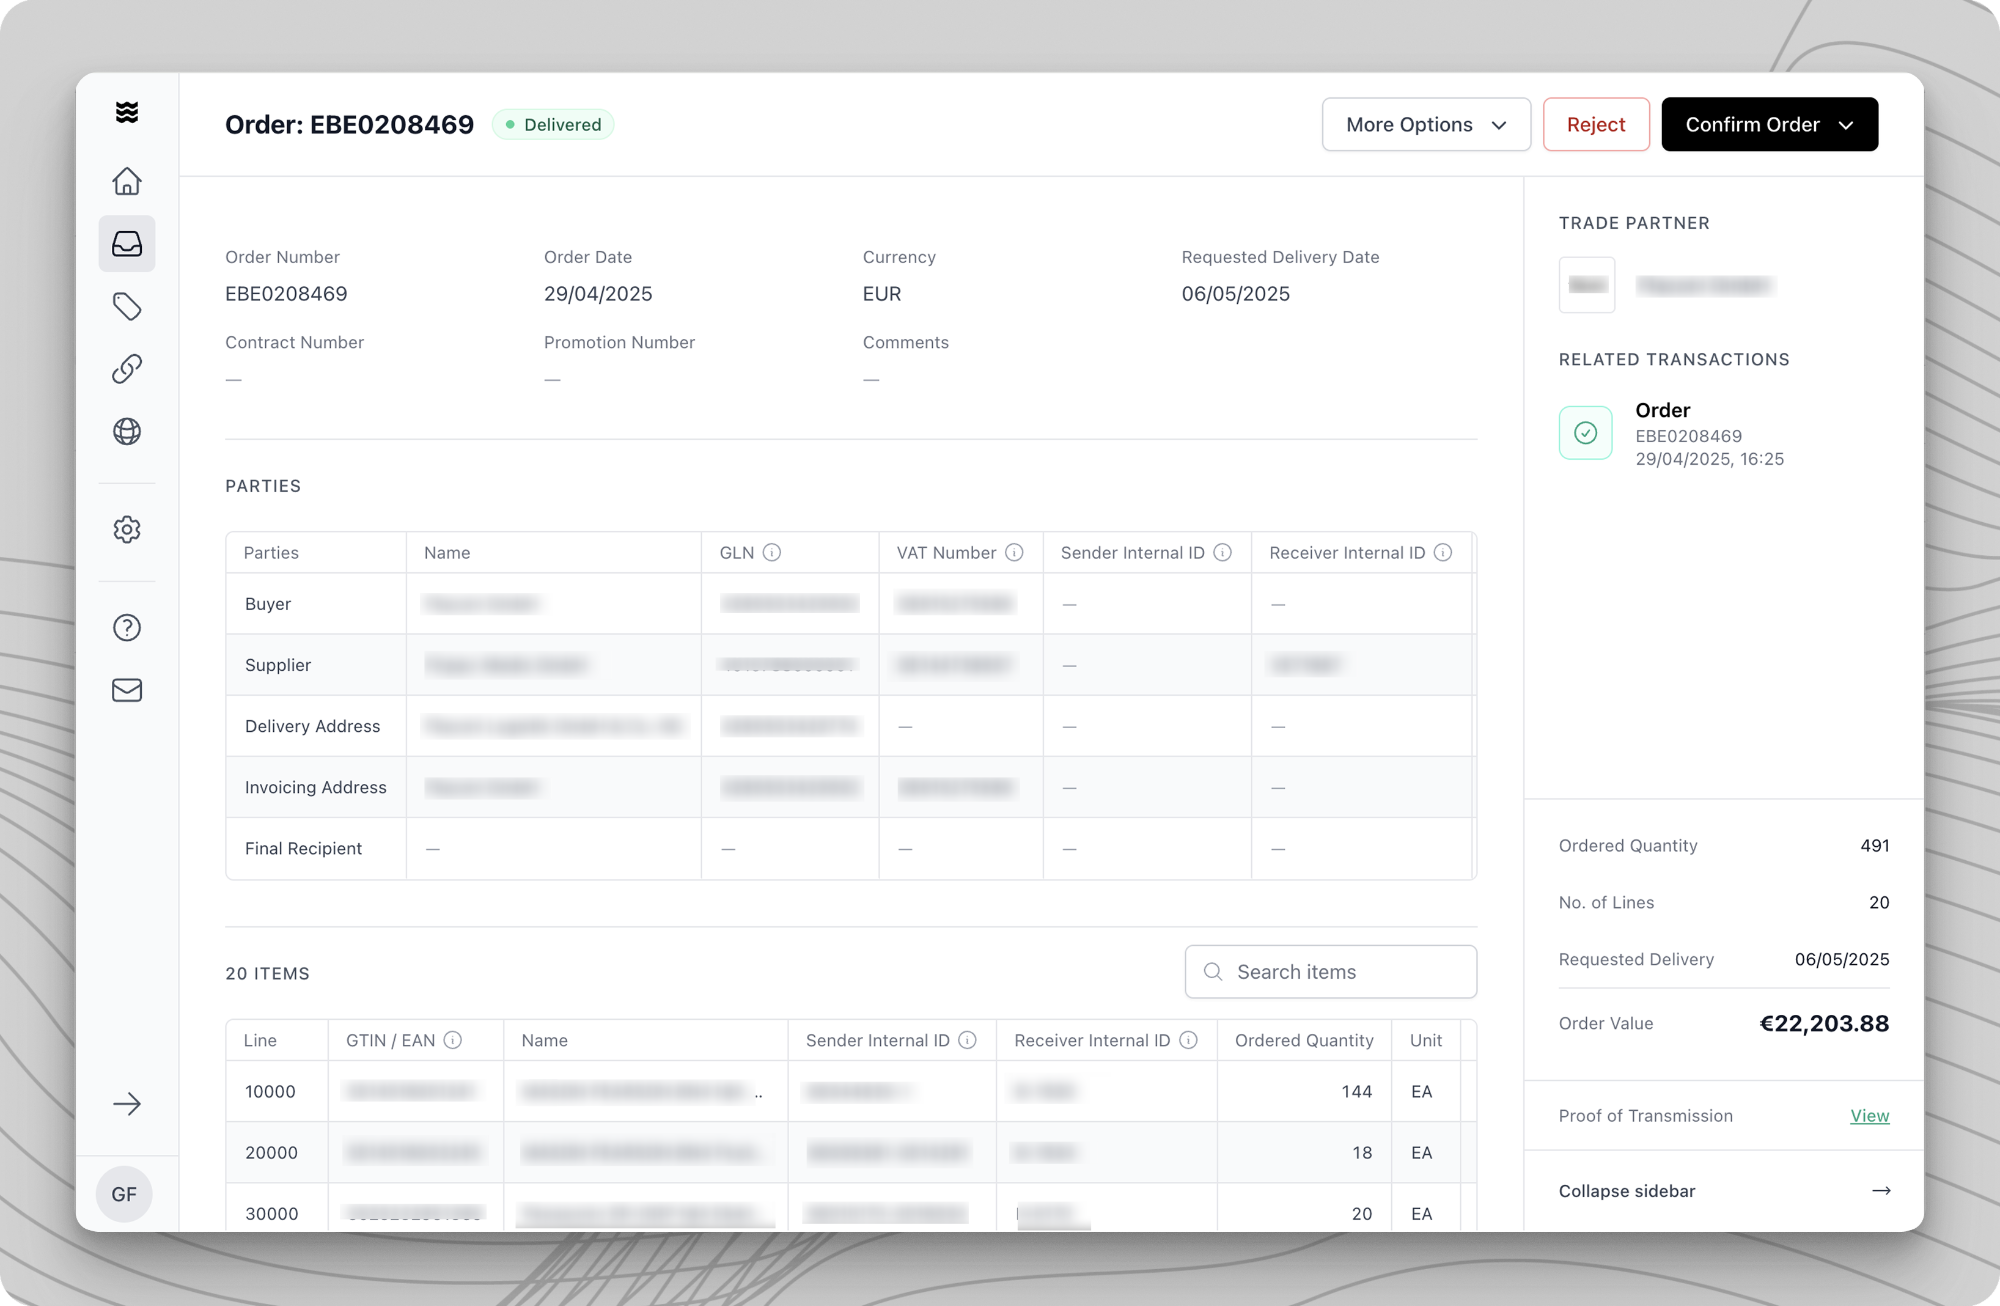
- Confirm the order if everything looks good
- Reject the order entirely if you cannot fulfill it
- Partially confirm the order if some items, quantities or dates needs to be adjusted
Accessing Order Responses
There are two ways to create a new order response:Via the Dashboard
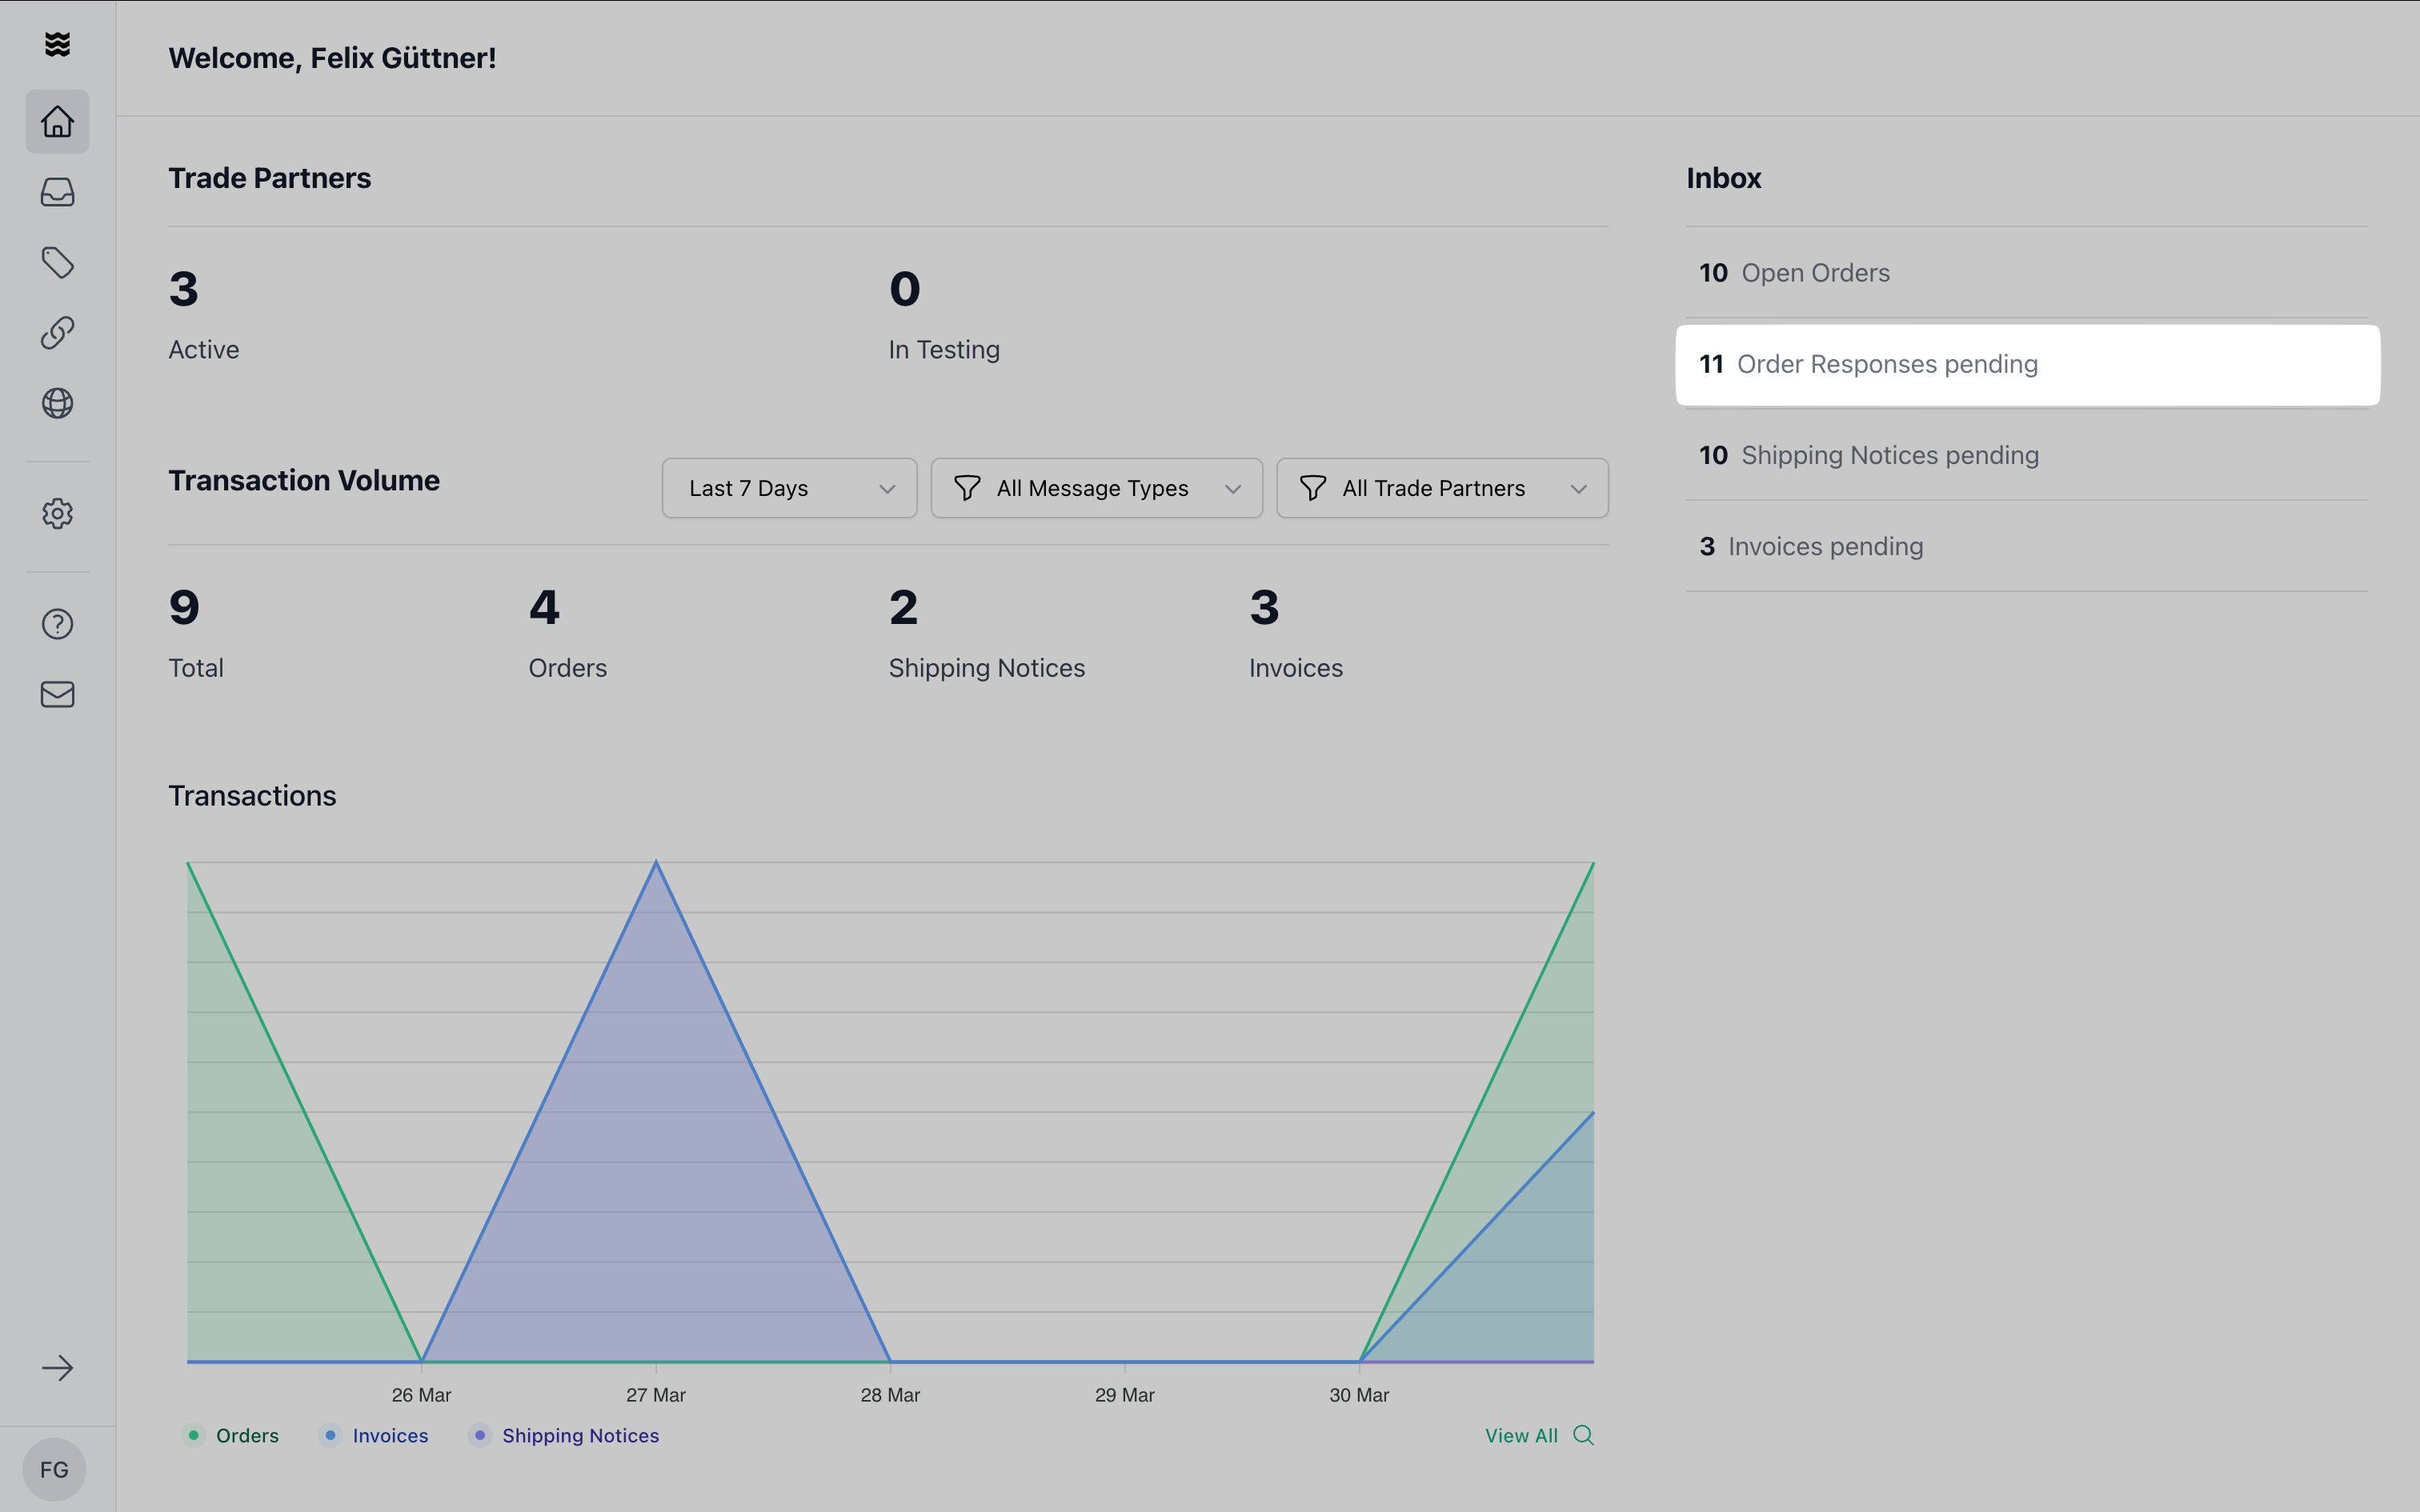
- Open the dashboard.
- Navigate to the “Inbox” section.
- Click on “Order Responses Pending.”
- The overview displays the open orders, where a Order Response is outstanding.

Confirming the Entire Order
If you can fulfill everything as requested:- Click “Confirm Order” in the top-right corner of the order page.
- Select “Confirm Entire Order”.
- Review the order summary to ensure everything is accurate.
- Click “Send Order Confirmation” to complete the process.
Rejecting the Order
If you cannot fulfill the order at all:- Click “Reject” in the top-right corner of the order page.
- Select a reason from the list. If your reason isn’t listed, choose “Other” and provide a brief explanation.
- Confirm by clicking “Reject” again to send the rejection to your trading partner.
Partially Confirming an Order
If you need to make changes to an Order, like changing items quantities or delivery date:- Click “Confirm Order” in the top-right corner of the order page.
- Select “Partially Confirm Order”.
- Apply the changes needed, check “Editing a Partial Order Confirmation” section for further details.
- Click “Send”.
- Review the order summary to ensure everything is accurate.
- Click “Send Order Confirmation” to complete the process.
Editing a Partial Order Confirmation
Editing a Partial Order Confirmation
Fill in Header Data
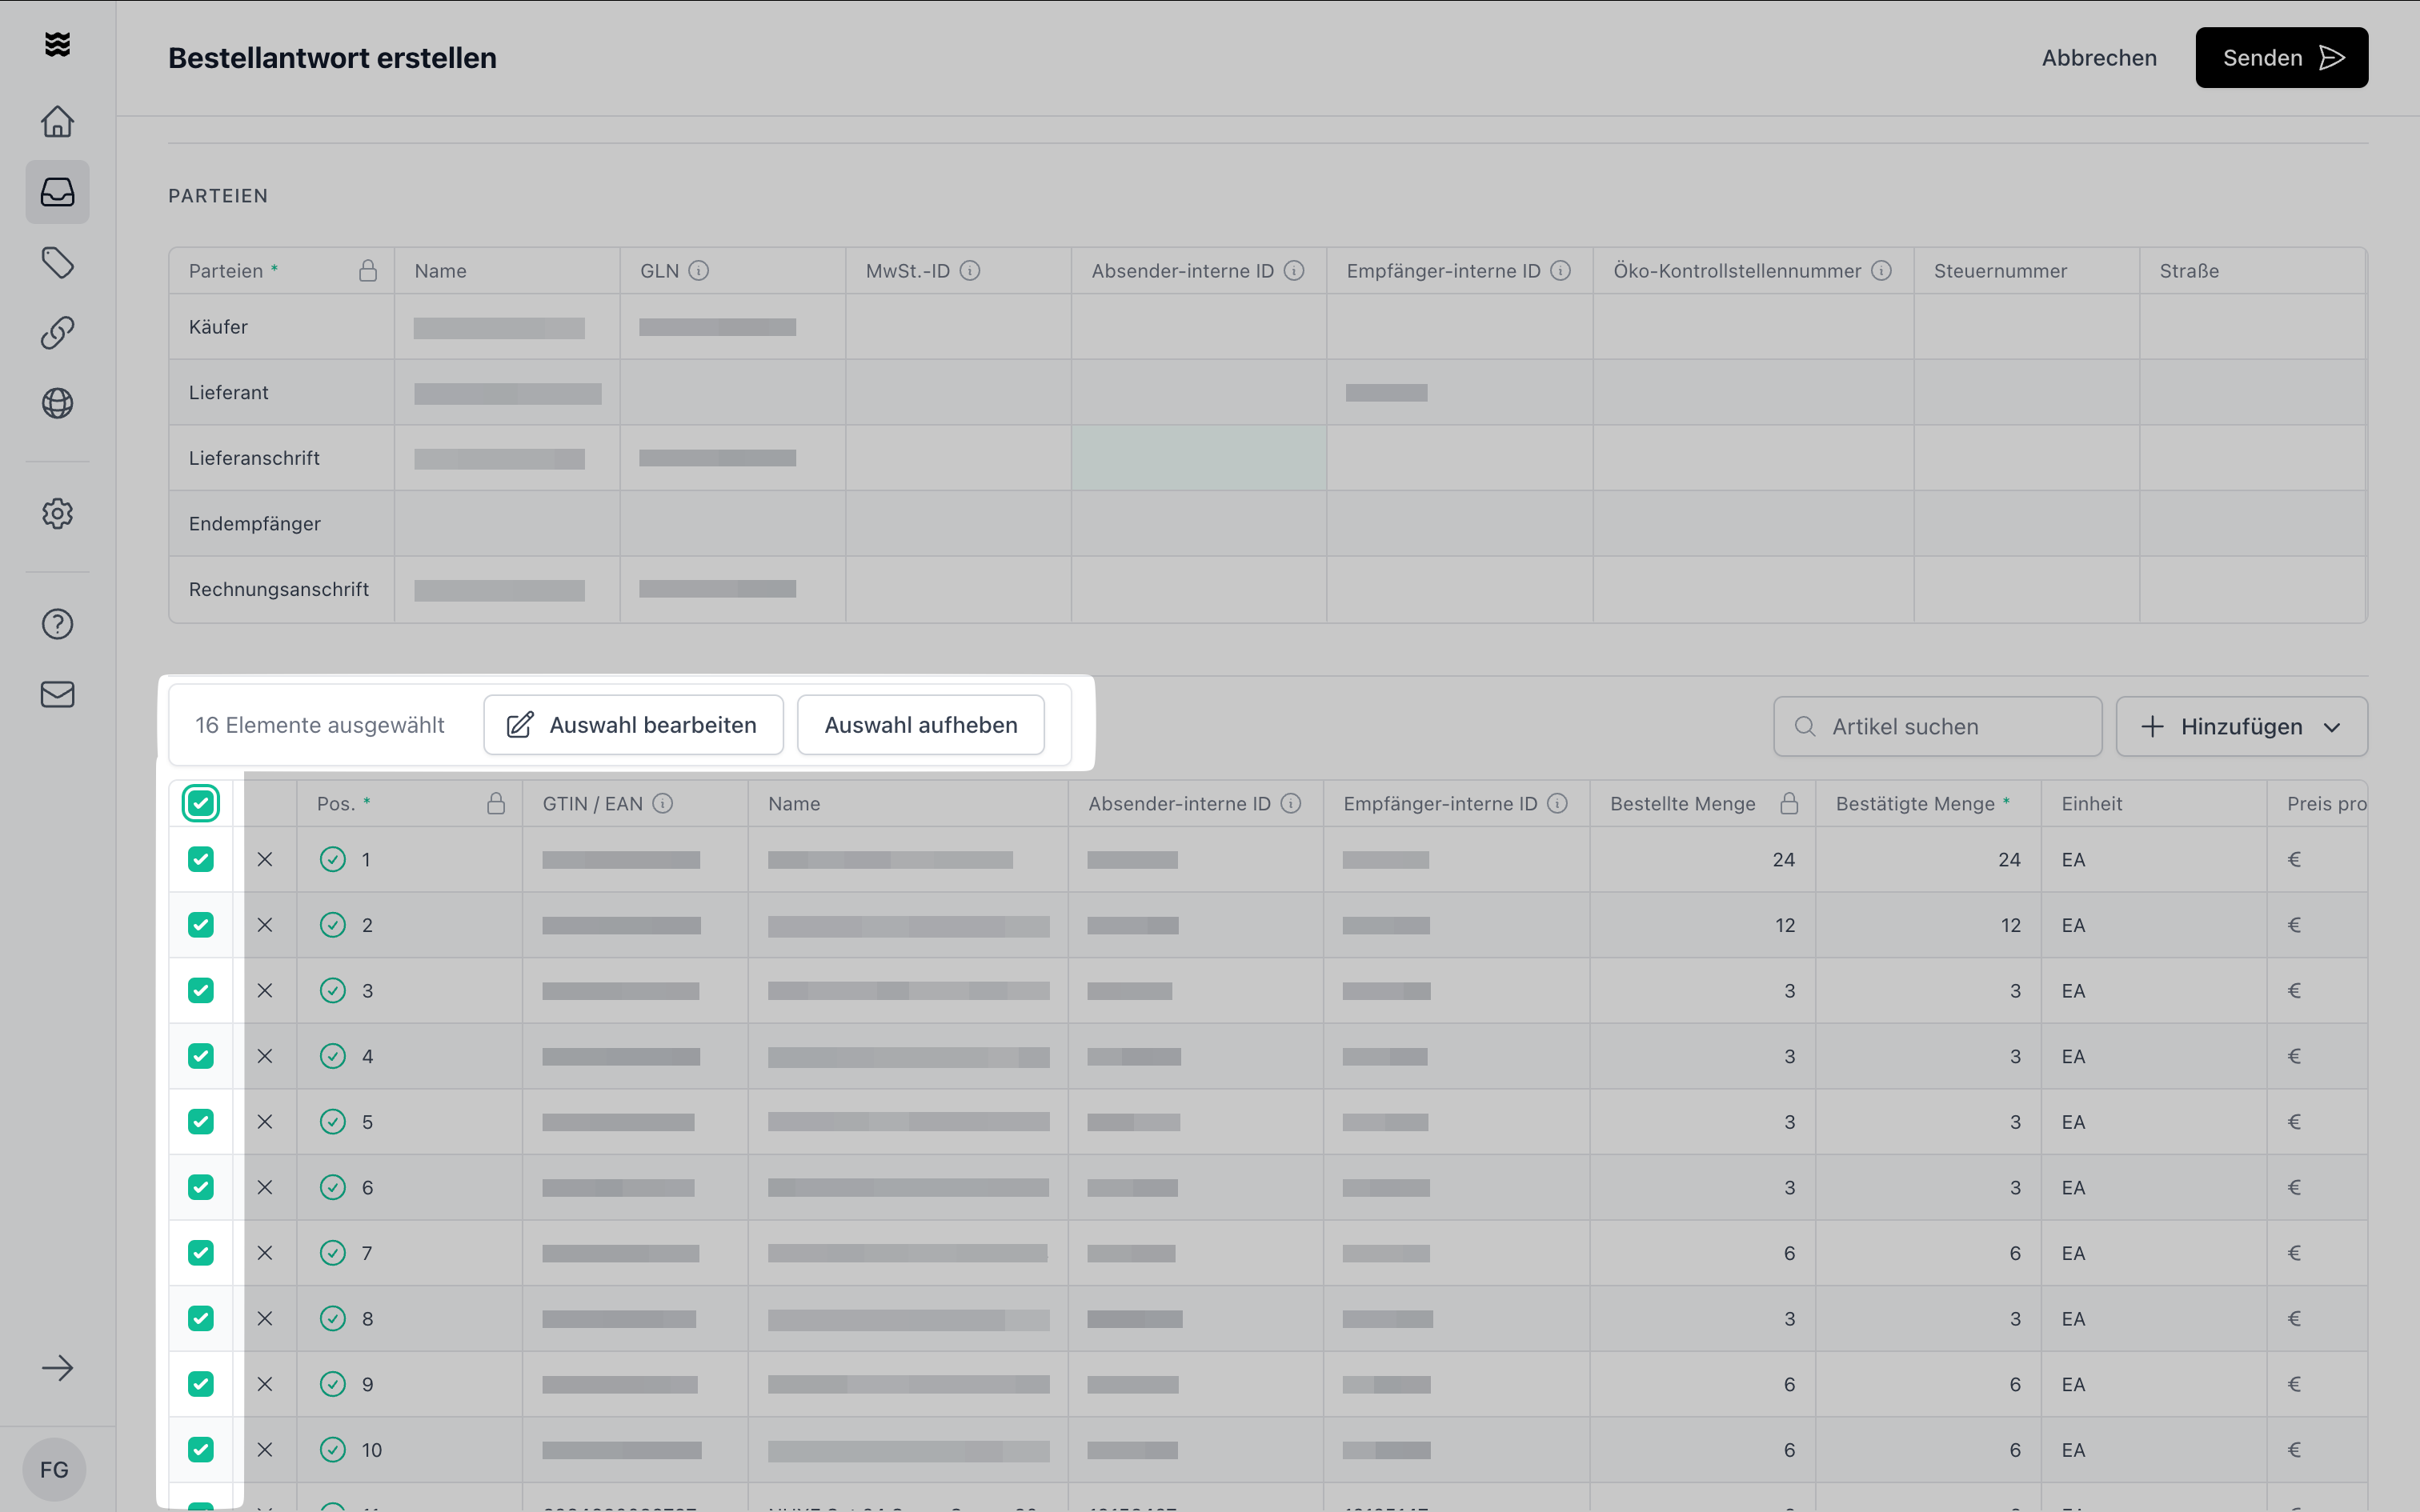
The upper section of the document contains essential order details:- Mandatory Fields are marked with an asterisk (*).
-
Locked Fields are indicated by a lock icon and cannot be edited.
Available Header Data
- Order Confirmation ID*: Your unique number for this response.
- Order Confirmation Date*: Default is the current date.
- Order Number*: Taken from the original order.
- Order Date*: Date of the original order.
- Requested Delivery Date: Taken from the order.
- Confirmed Delivery Date*: Your confirmed delivery date.
Edit Line Items

Confirm Quantities
Enter the actual deliverable quantity for each item in the “Confirmed Quantity” field. You can remove individual items from the order by clicking the “X” on the left of each row. Clicking again restores the item.
Send Document
Before sending, the system automatically checks all required fields:- Click “Send.”
- If any mandatory fields are missing, they will be highlighted.
- Follow the issue resolution assistant.
- Once all issues are corrected, you can resend the document.
The issue resolution assistant guides you step by step through all pending issues until they are resolved.