Three Ways to Provide Credit Notes
As a supplier, you have three options for providing Invoices via in ProcurosCreate Manually
Create Manually
Create Credit Notes directly in the Procuros portal using the built-in form interface.Steps to follow
Reviewing and Sending the Document
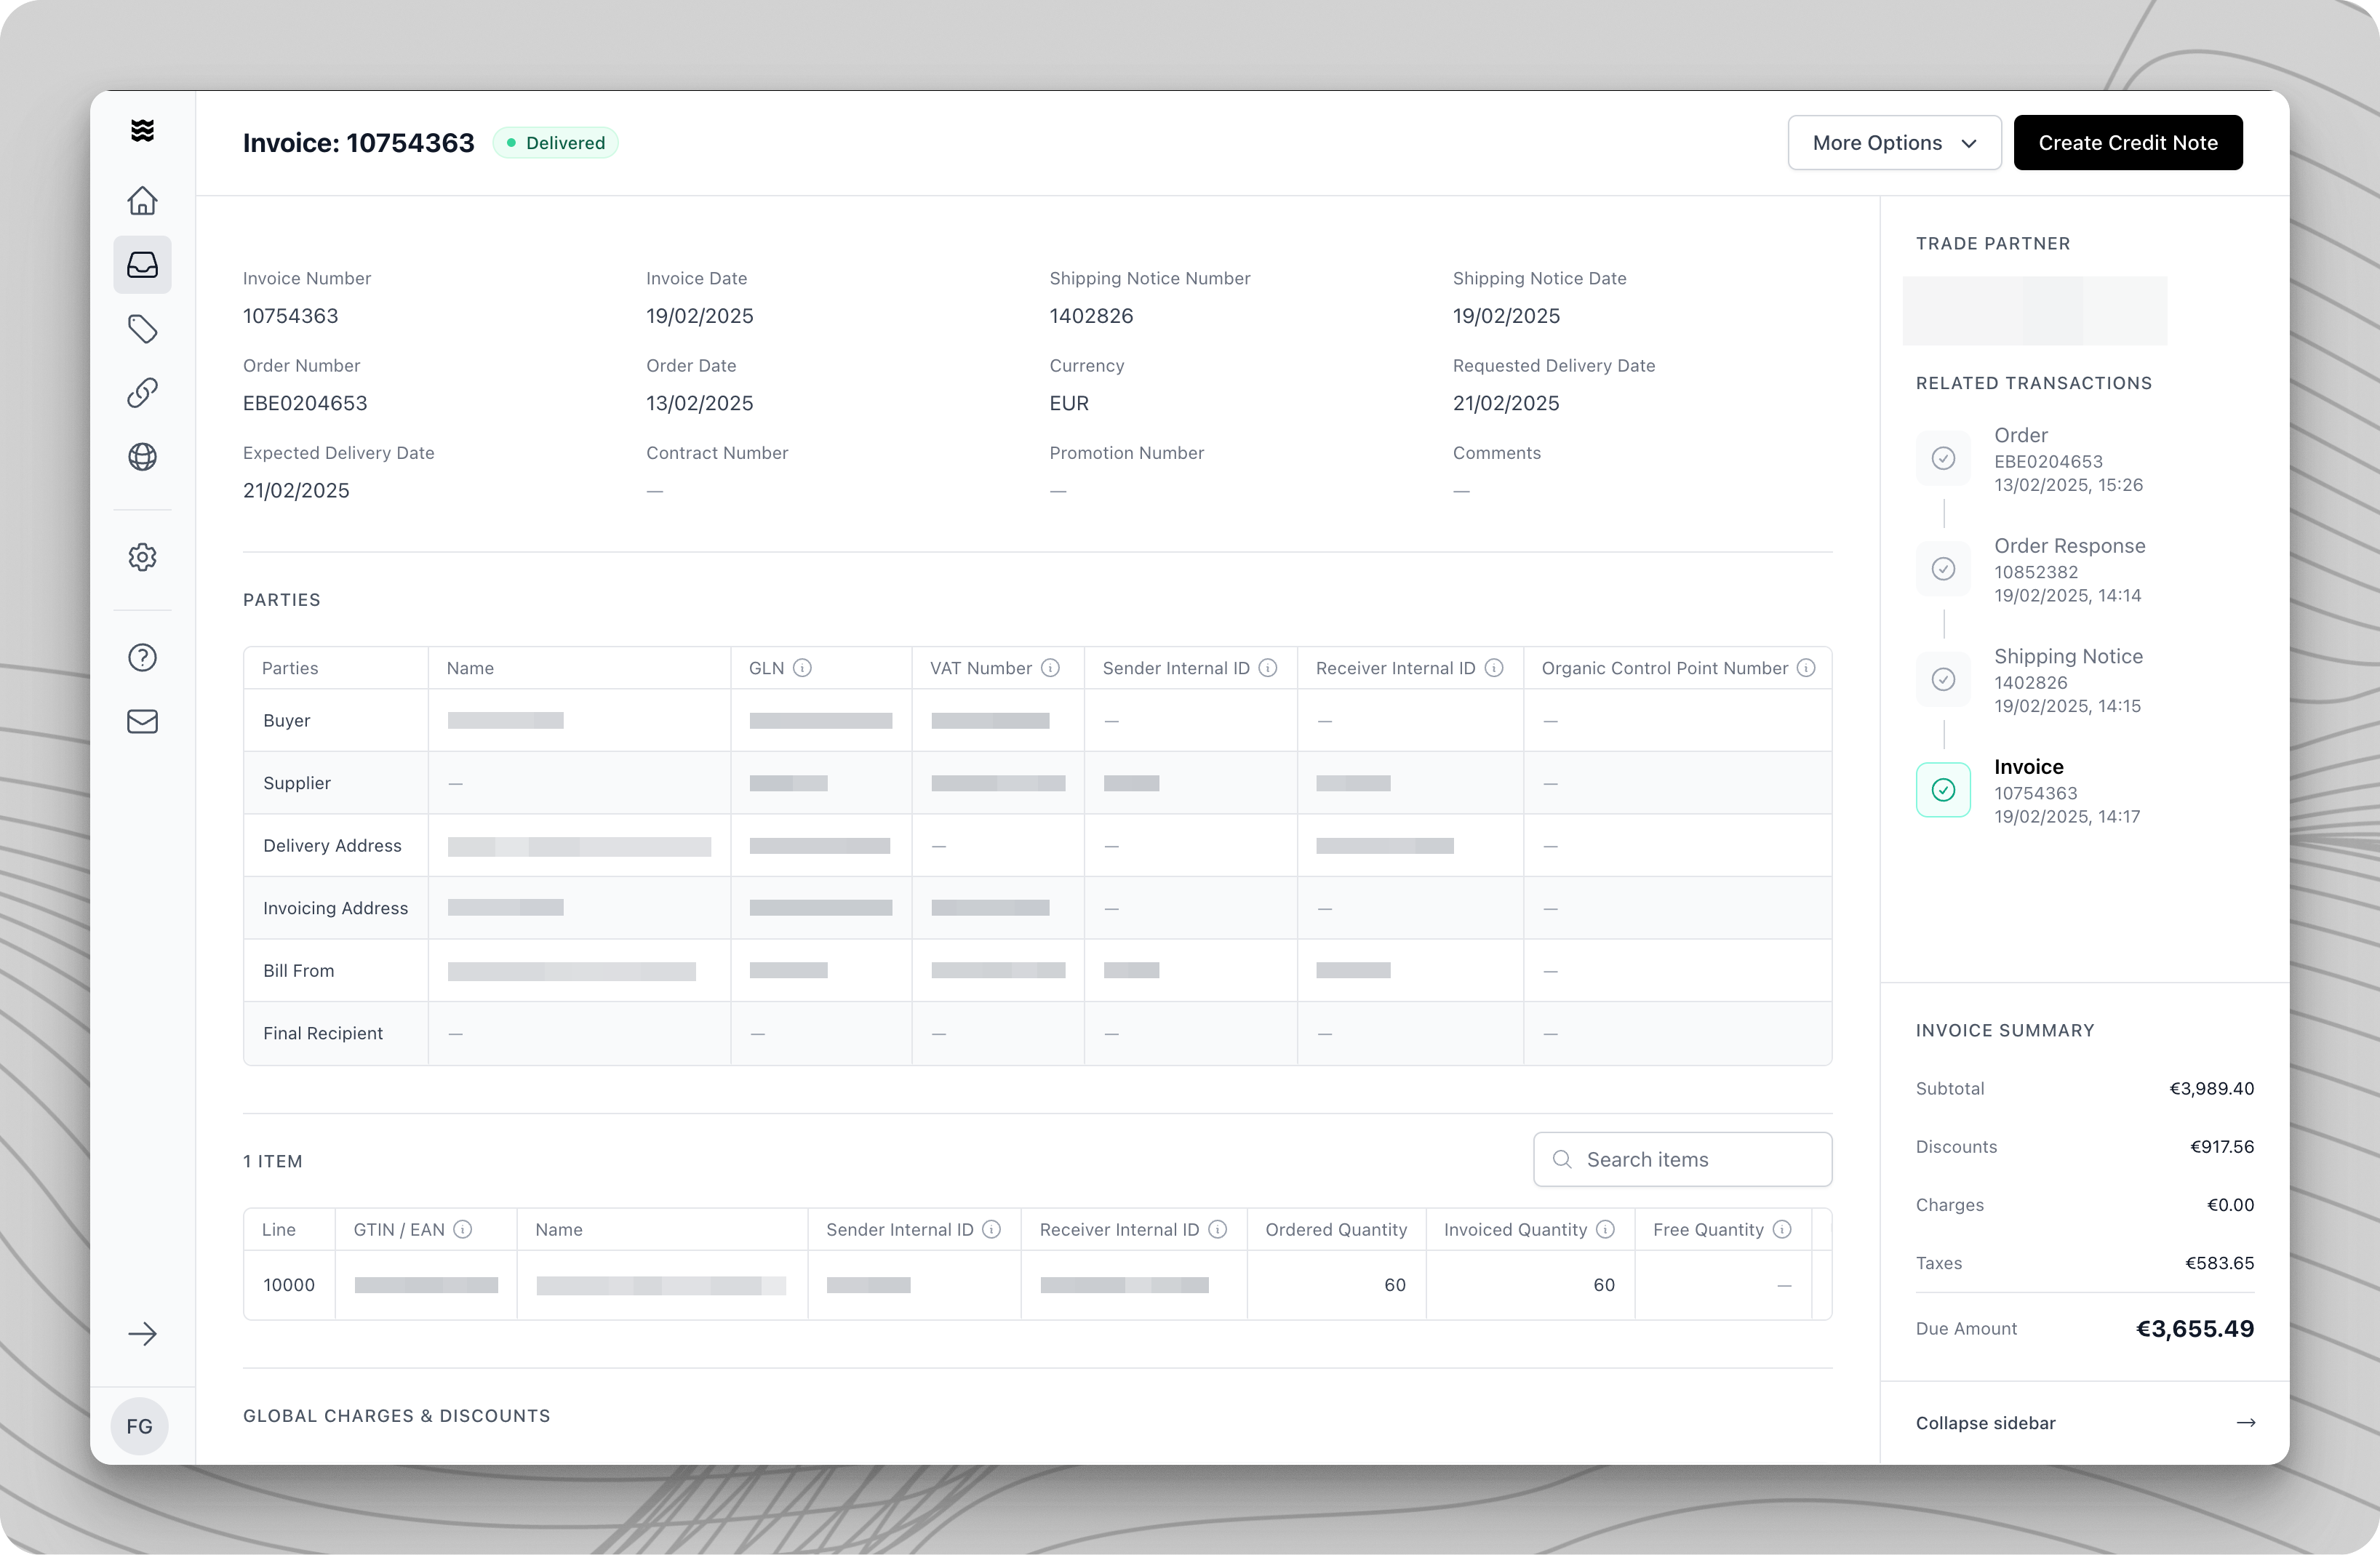
- Open the invoice for which you want to create a credit note.
- Click “Create Credit Note” in the top right corner.
- Select “Create Manually”.
- The input form opens for manual editing with the transferred data from the invoice.
Filling in Credit Note Data
Filling in Credit Note Data
The credit note document contains similar sections to an invoice:
Header Data (Credit Note Information)
Header Data (Credit Note Information)
- Credit Note Number*
- Credit Note Due Date*
- Credit Note Date (default is the current date)
- Currency *
- Order Number*
- Reason for the Credit Note
Party Information
Party Information
All relevant details about the involved trading partners:
- Buyer (the ordering trading partner)
- Supplier (your company)
- Invoice Address
- Delivery Address
Item Positions
Item Positions
A detailed tabular overview of all order or invoice positions, including:
- Item Number and Description
- Quantity and Unit
- Unit price and Total Price
- Tax Rate
- Line Item Discounts
Discount / Surcharge Levels
Discount / Surcharge Levels
Overview of all price-related additions and deductions:
- Discounts at the Item Level
- Surcharges at the Document Level
- Special Conditions
- Total Discounts
Payment Terms
Payment Terms
Details of the agreed payment conditions:
- Payment Deadline
- Early Payment Discount Conditions
- Payment Method
- Bank Details
Managing Item Positions
Managing Item Positions
- Review Line Items
- All positions from the original invoice are listed. You can:
- Adjust quantities
- Correct prices
- Remove positions
- All positions from the original invoice are listed. You can:
- Set Credit Note Amount
- Click on the position to be corrected.
- Enter the credited quantity.
- Adjust the price if necessary.
- The system automatically calculates the credit amount.
Managing Discounts and Fees
Managing Discounts and Fees
Like an invoice, credit notes allow for global adjustments:Available Options
- Credit discounts: Correct previously granted discounts.
- Credit fees: Refund previously charged fees.
- Multiple calculation levels available.
- Checking Mandatory Fields
- Credit Note Number
- Credit Note Date
- Reference to the original invoice
- Correct amounts and quantities
- Resolve Issues
- Problematic fields are highlighted in red.
- Error messages provide correction hints.
- Use “Next Issue” for systematic correction.
- Send Credit Note
- After a successful review, send the credit note by clicking “Send”.
Upload PDF Document in the Portal
Upload PDF Document in the Portal
Upload an existing Credit Note as a PDF file.Steps to follow
- Open the corresponding Invoice.
- Click on “Create Credit Note” in the top right corner.
- Select “Upload Document.”
- Upload an existing Credit Note.
Forward PDF Document via Email
Forward PDF Document via Email
Steps to follow
- Get your personalized “Procuros inbound” email after your first order. Contact [email protected] in case you did not receive it.
- Send PDF of your credit notes to your personalized “Procuros inbound” email (no subject or text needed). We recommend saving this email in your system for automatic sending or setup automatic forwarding within your ERP or email client. Learn more about it here.
- Verify delivery status by checking the portal, where all transaction records are visible (if needed).
- Only send one credit note per PDF file. Do not send multiple credit notes within one PDF file.
- Our system will only process the first one and disregard all others
- Maximum capacity = 10 PDF files or 30 MB
- Provide all necessary information on the credit notes.
- Only credit notes for orders received via Procuros will be processed - others will be rejected.
- If your credit note wasn’t processed, you will receive an email with the explanation. If this email directs you to the portal, please follow the instructions there.