> ## Documentation Index
> Fetch the complete documentation index at: https://docs.procuros.io/llms.txt
> Use this file to discover all available pages before exploring further.
# Uploading PDF Documents
> Guide for automated uploading and processing of PDF documents such as delivery notes and invoices in the Procuros WebEDI portal.
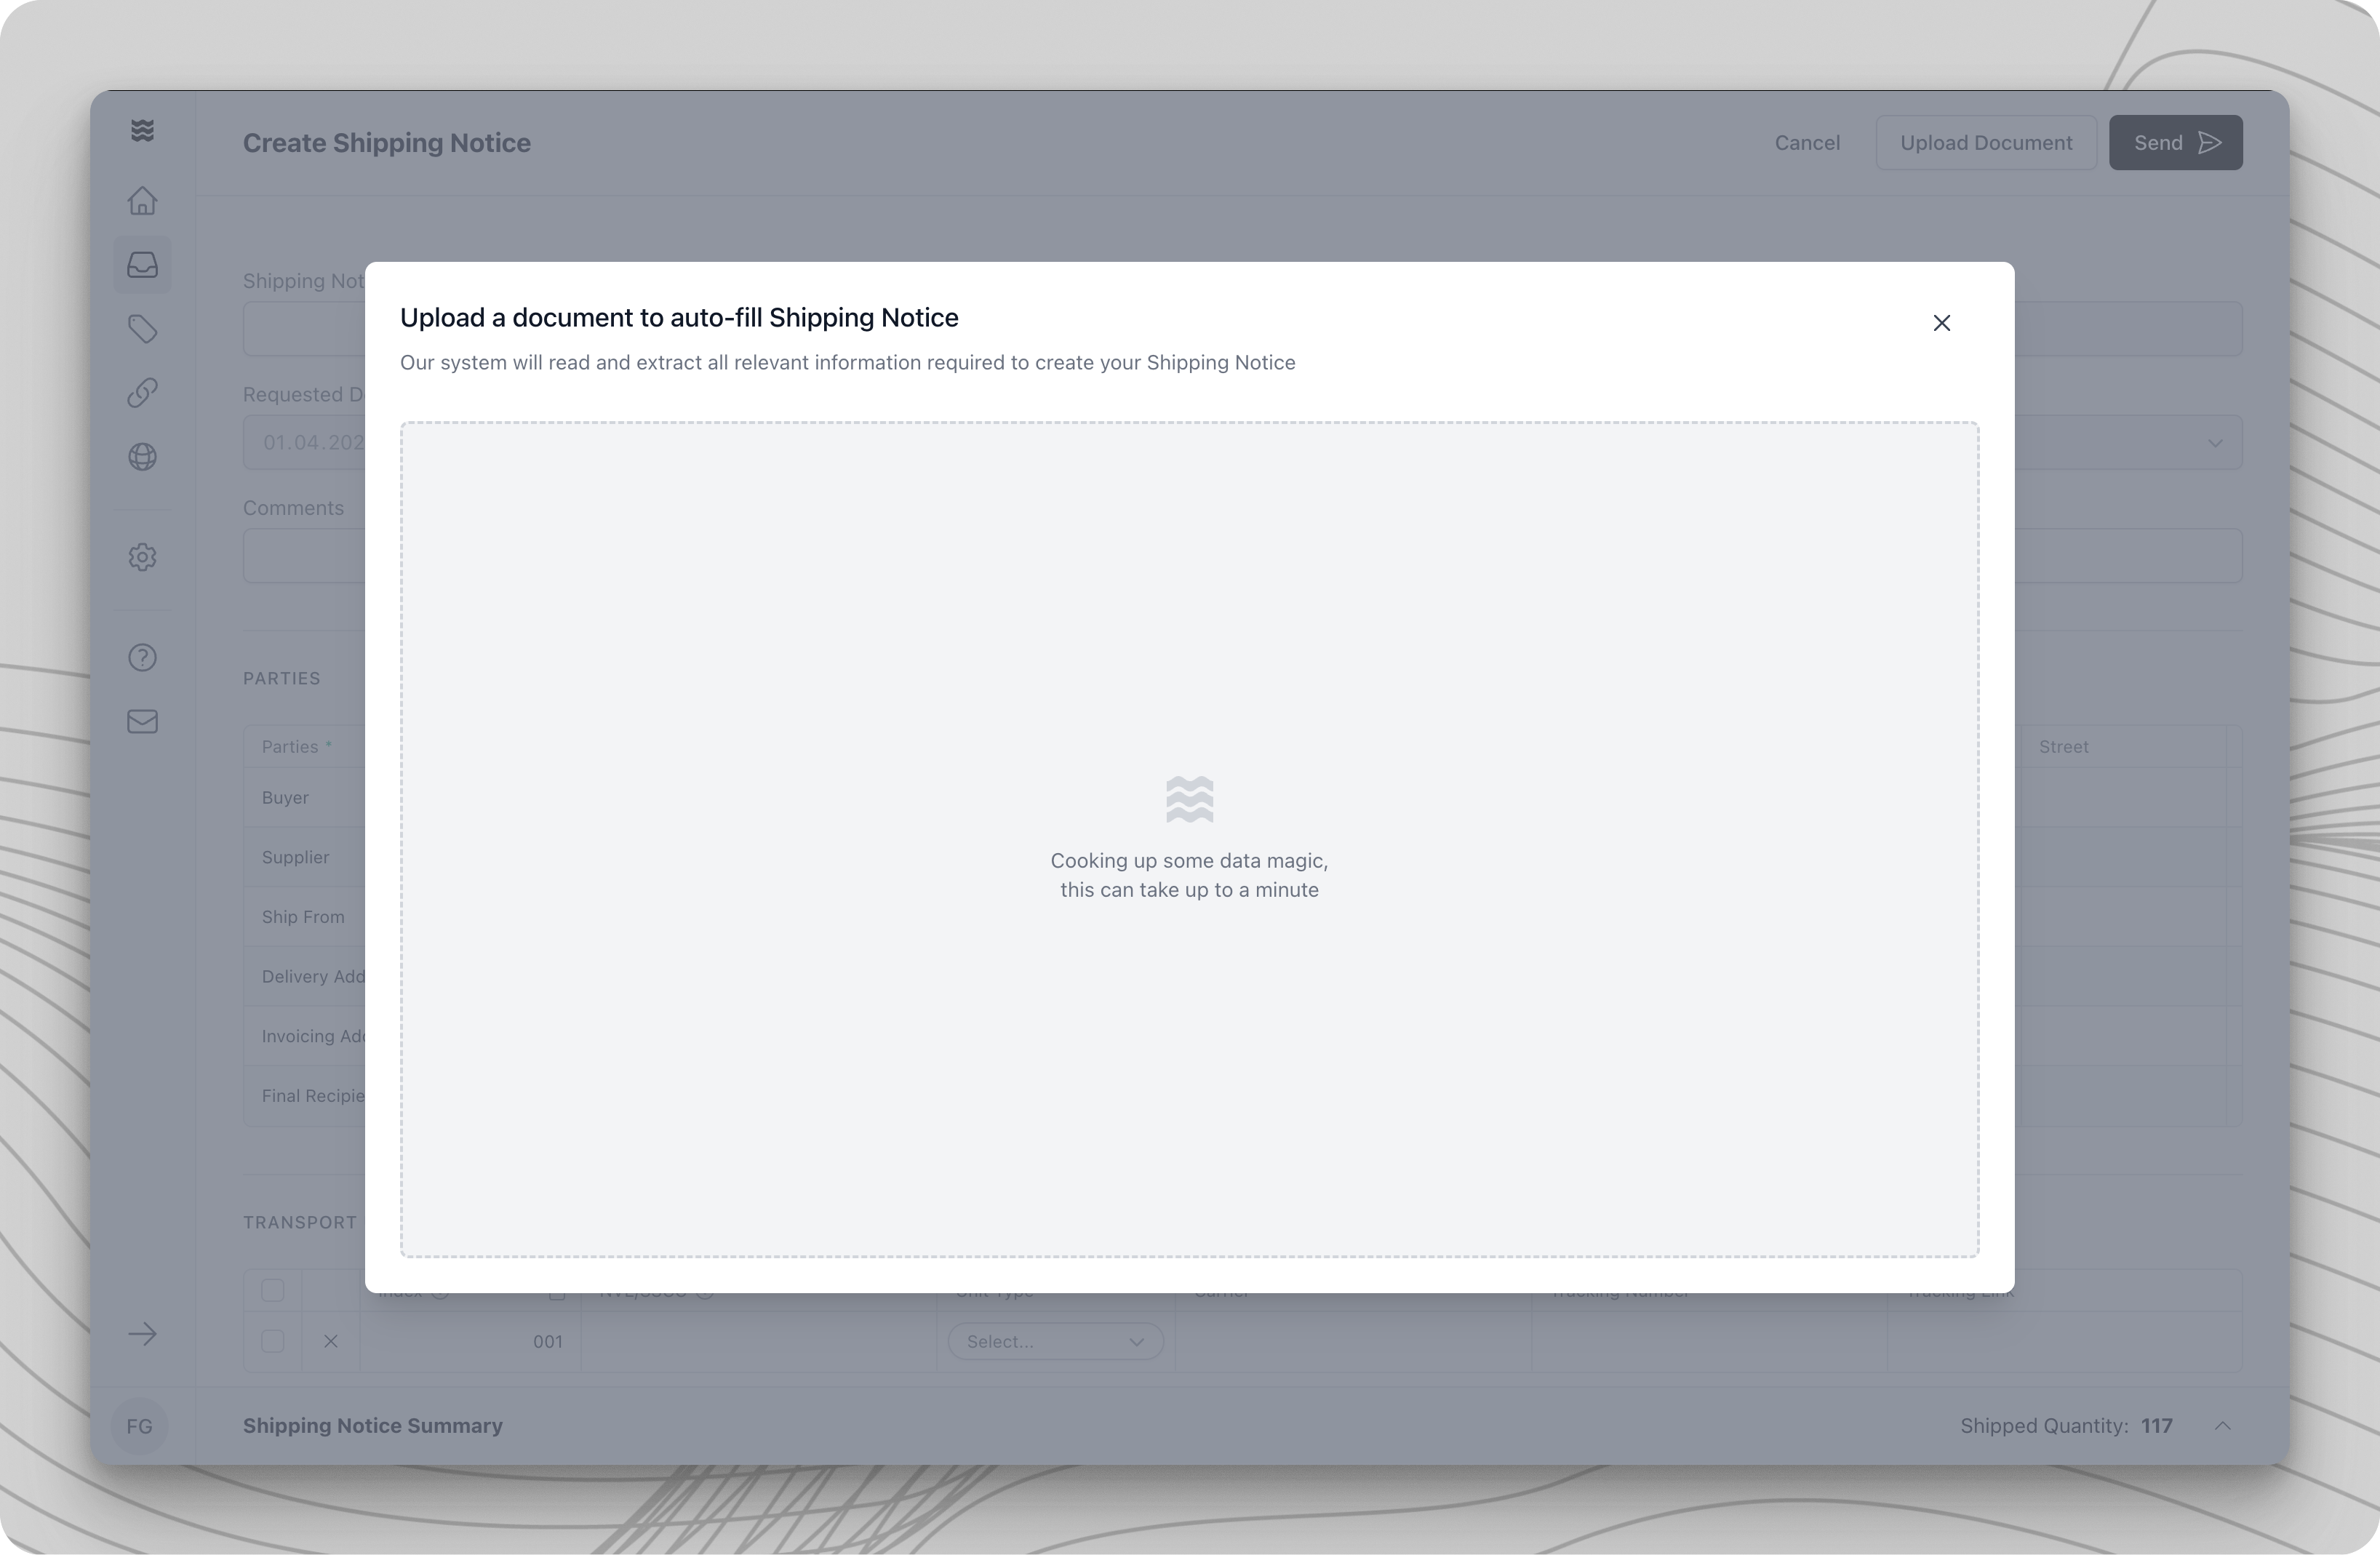 The PDF upload function enables the automated reading of existing documents. The system extracts relevant data and automatically populates the corresponding fields, significantly reducing manual data entry efforts.
## Upload Process
The upload process consists of the following steps:
Navigate to the desired document type (e.g., dispatch notification or invoice) and click "Create."
In the dropdown menu, choose between:
* "Create Manually" for an empty input form
* "Upload Document" for the PDF upload
In the upload section, you have two options:
* Drag & Drop the file into the designated area
* Click "Upload File" to select a file from your computer
## Processing Additional Positions
The system automatically detects positions that are not part of the original order. These are displayed in a separate dialog, "Additional Items Detected."
The following options are available:
* "Keep All Items": Retains all additional positions
* "Discard All Items": Removes all additional positions
* Individual Selection: Use the dropdown menu in the "Action" column to selectively keep or discard specific positions
## Reviewing Extraction Results
After document extraction, the system displays an overview with color-coded markings:
* Green: Successfully matched positions (corresponding between order and document)
* Blue: Additional positions (e.g., free samples, unordered items)
* Yellow: Missing positions (ordered items not found in the document)
## Processing Consolidated Shipments
For consolidated shipments (multiple orders in one document), the document must be uploaded separately for each included order.
Please follow these steps:
1. Re-upload the document for each included order
2. Select "Discard all items" for positions from other orders
3. Keep only the positions belonging to the current order
## Data Verification and Finalization
After applying the extraction:
1. Carefully review all pre-filled data
2. Pay special attention to:
* Shipped quantities
* Delivery date (if not specified on documents)
3. Complete missing mandatory fields (marked with \*)
4. Confirm by clicking "Send" after full verification
Use the automatic extraction as an aid, but always verify the data for accuracy before sending it to your trading partners.
## Next Steps
After a successful upload, you can:
* Send the document to your trading partner
* Generate follow-up documents such as invoices if needed
* Track the document status in the overview
The PDF upload function enables the automated reading of existing documents. The system extracts relevant data and automatically populates the corresponding fields, significantly reducing manual data entry efforts.
## Upload Process
The upload process consists of the following steps:
Navigate to the desired document type (e.g., dispatch notification or invoice) and click "Create."
In the dropdown menu, choose between:
* "Create Manually" for an empty input form
* "Upload Document" for the PDF upload
In the upload section, you have two options:
* Drag & Drop the file into the designated area
* Click "Upload File" to select a file from your computer
## Processing Additional Positions
The system automatically detects positions that are not part of the original order. These are displayed in a separate dialog, "Additional Items Detected."
The following options are available:
* "Keep All Items": Retains all additional positions
* "Discard All Items": Removes all additional positions
* Individual Selection: Use the dropdown menu in the "Action" column to selectively keep or discard specific positions
## Reviewing Extraction Results
After document extraction, the system displays an overview with color-coded markings:
* Green: Successfully matched positions (corresponding between order and document)
* Blue: Additional positions (e.g., free samples, unordered items)
* Yellow: Missing positions (ordered items not found in the document)
## Processing Consolidated Shipments
For consolidated shipments (multiple orders in one document), the document must be uploaded separately for each included order.
Please follow these steps:
1. Re-upload the document for each included order
2. Select "Discard all items" for positions from other orders
3. Keep only the positions belonging to the current order
## Data Verification and Finalization
After applying the extraction:
1. Carefully review all pre-filled data
2. Pay special attention to:
* Shipped quantities
* Delivery date (if not specified on documents)
3. Complete missing mandatory fields (marked with \*)
4. Confirm by clicking "Send" after full verification
Use the automatic extraction as an aid, but always verify the data for accuracy before sending it to your trading partners.
## Next Steps
After a successful upload, you can:
* Send the document to your trading partner
* Generate follow-up documents such as invoices if needed
* Track the document status in the overview