> ## Documentation Index
> Fetch the complete documentation index at: https://docs.procuros.io/llms.txt
> Use this file to discover all available pages before exploring further.
# Import a CSV into Excel
> A quick 4-step guide to importing Procuros CSV exports cleanly into Microsoft Excel using the Text Import Wizard.
Double-clicking a CSV file often goes wrong — columns get misread, numbers turn into dates, IDs lose leading zeros, and everything lands in a single column. The Text Import Wizard handles it cleanly.
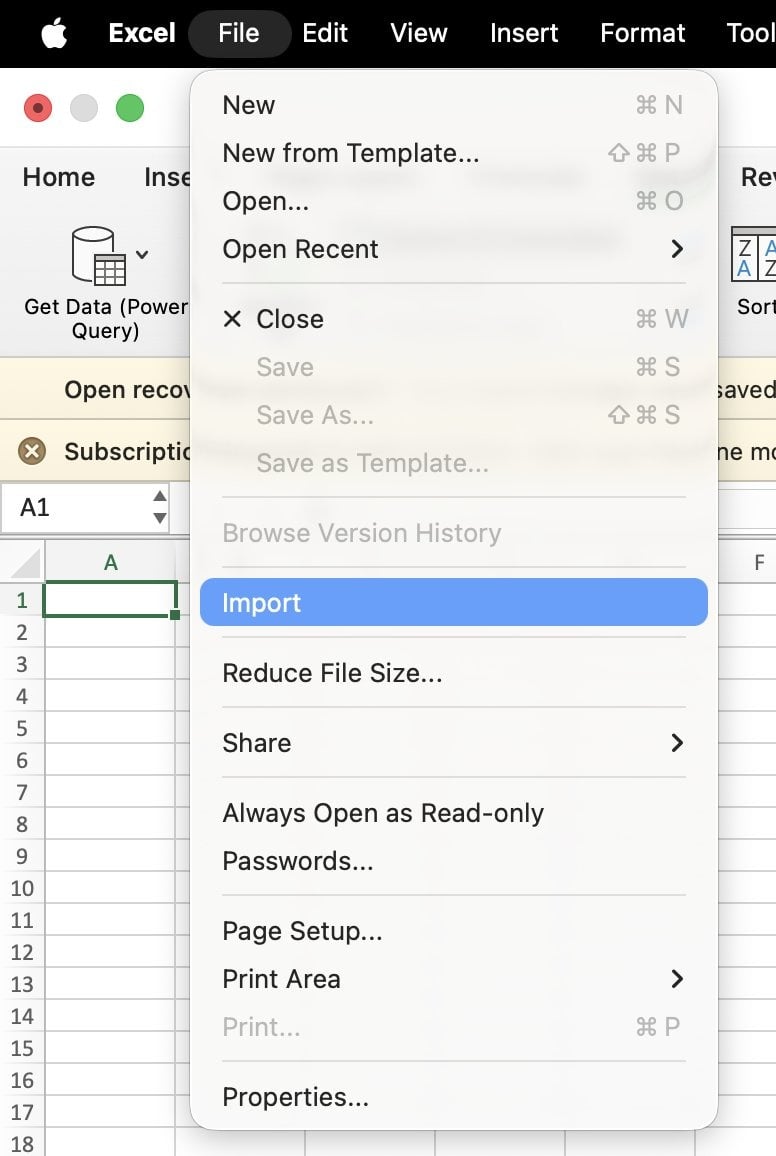
## Step 1 – Open the file
Launch Microsoft Excel.
From the top menu, choose **File → Import**.
Select **CSV** as the file type and open your file.
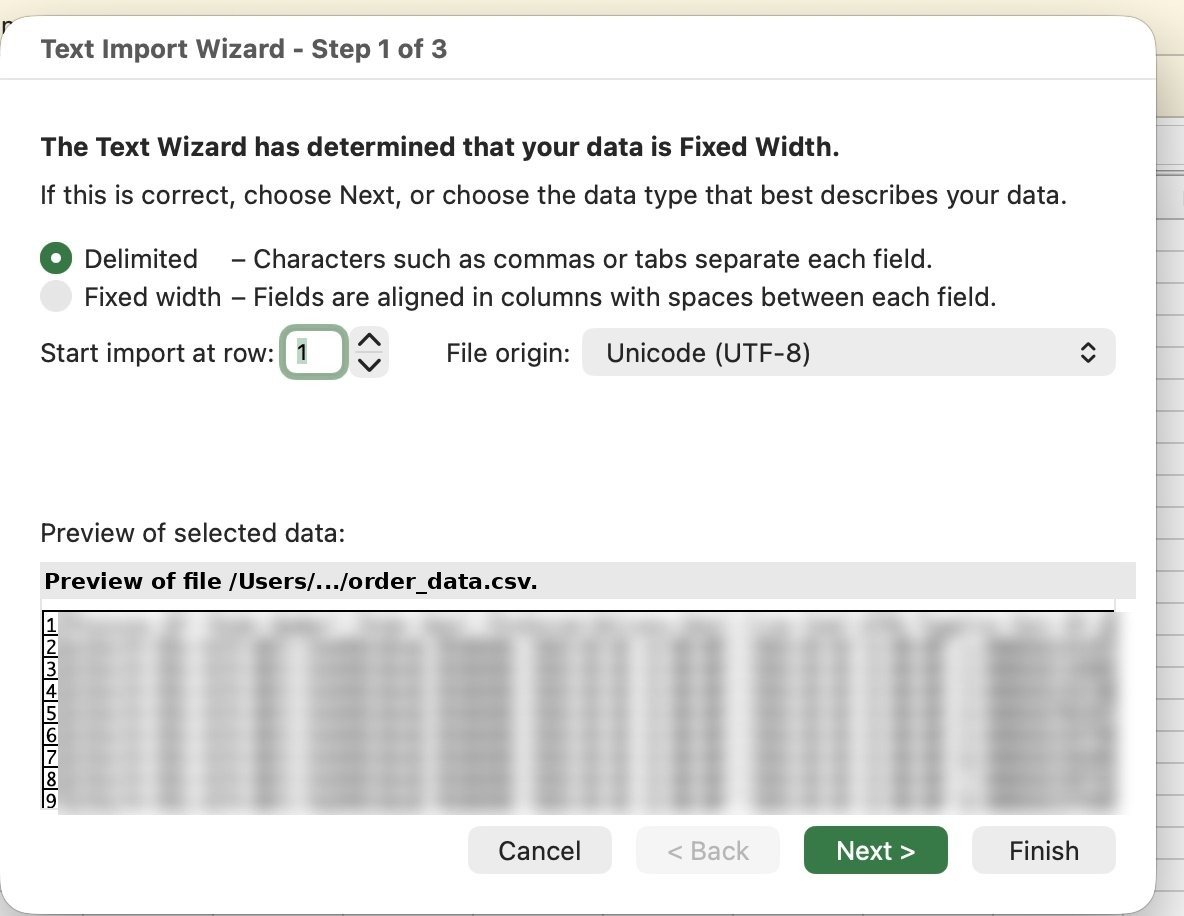
 ## Step 2 – Choose the import type
Choose **Delimited** — not "Fixed Width".
Leave **Start import at row** set to **1** so the header row is included.
Click **Next** to continue.
## Step 2 – Choose the import type
Choose **Delimited** — not "Fixed Width".
Leave **Start import at row** set to **1** so the header row is included.
Click **Next** to continue.
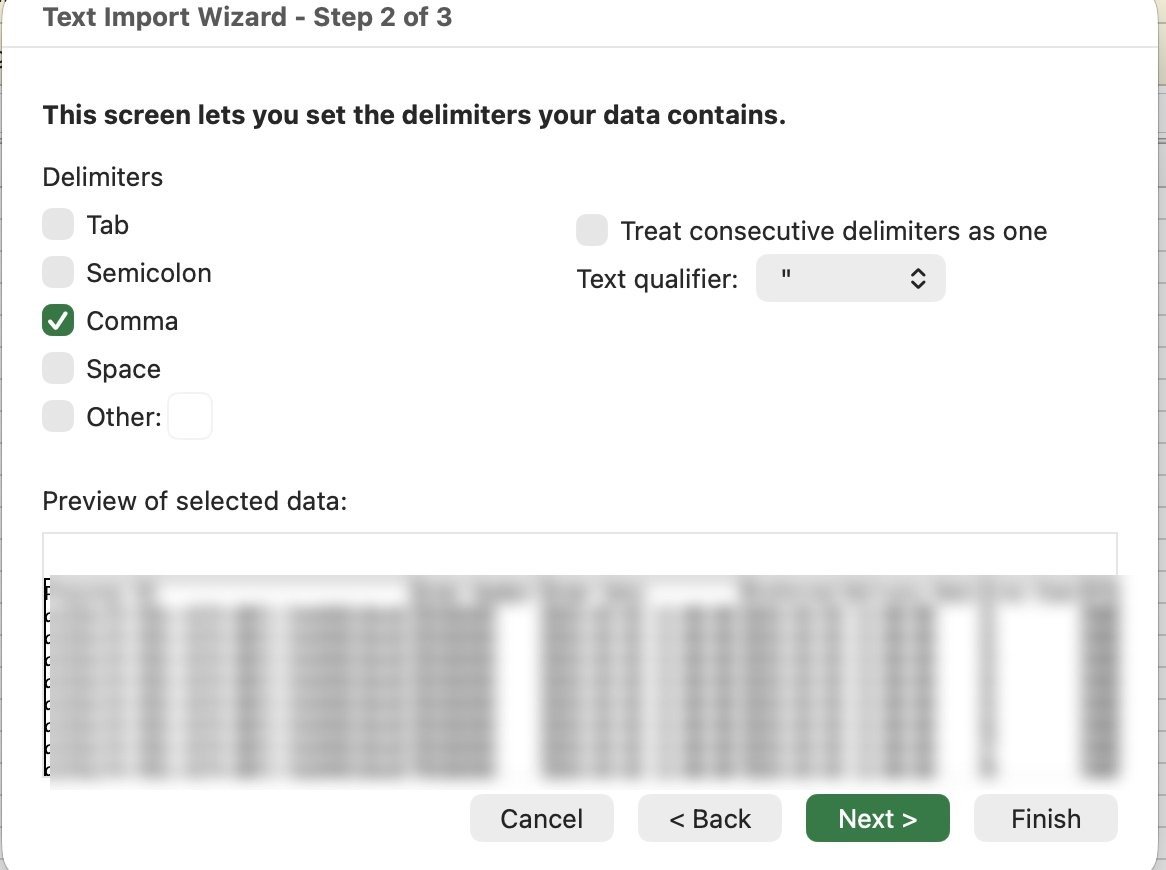
 ## Step 3 – Set the delimiter
Check **Comma** as the delimiter.
Make sure **Tab**, **Semicolon**, and **Space** are unchecked.
Leave **Text qualifier** as `"` (double quote).
Click **Next** to continue.
## Step 3 – Set the delimiter
Check **Comma** as the delimiter.
Make sure **Tab**, **Semicolon**, and **Space** are unchecked.
Leave **Text qualifier** as `"` (double quote).
Click **Next** to continue.
 ## Step 4 – Set column formats
Leave all columns set to **General** — this works for most data.
Click **Finish** to complete the import.
## Step 4 – Set column formats
Leave all columns set to **General** — this works for most data.
Click **Finish** to complete the import.
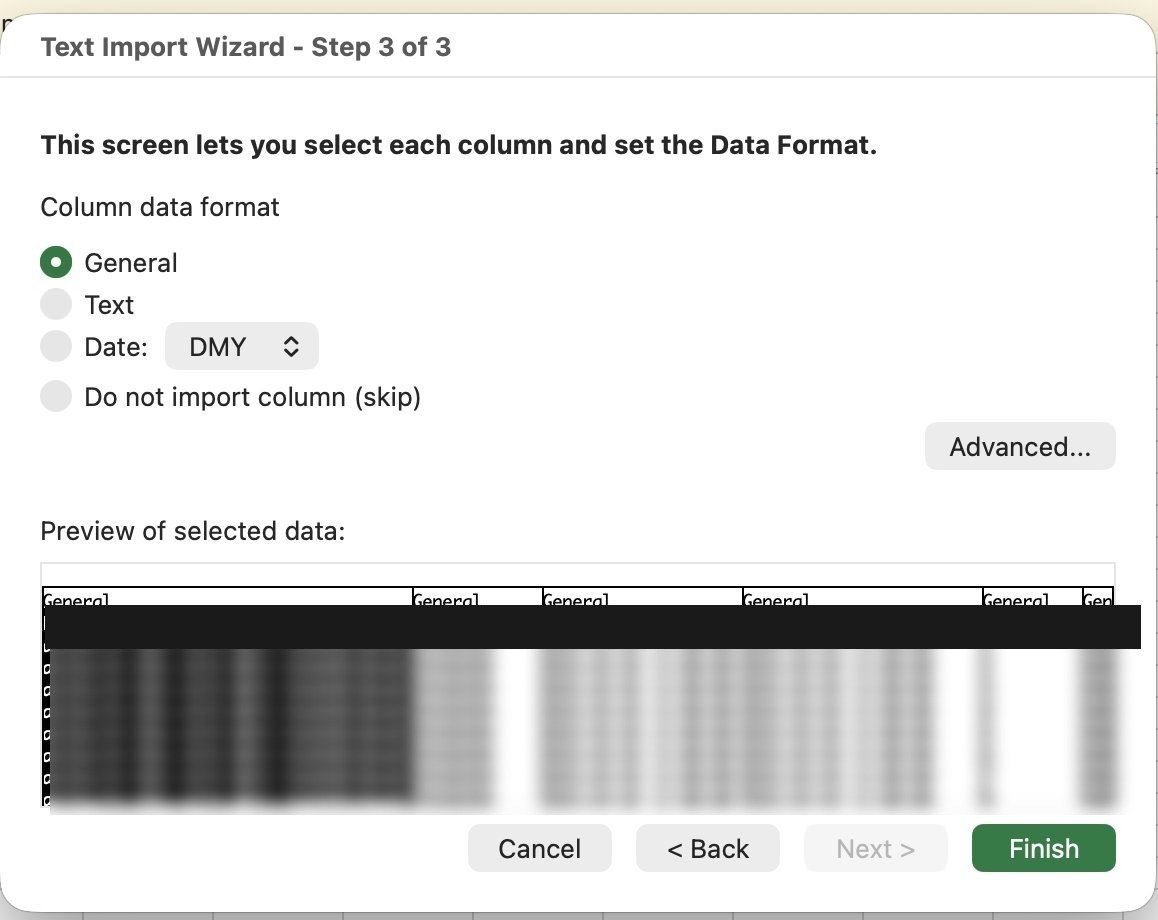 For columns with long IDs or numbers with leading zeros (e.g. GTINs, order numbers), click each column **before** hitting Finish and set it to **Text**. Otherwise Excel will truncate the values or convert them to scientific notation.
## Done
Your CSV is now loaded into Excel with columns correctly split and data readable. To save: **File → Save As** and choose **Excel Workbook (.xlsx)**.
For columns with long IDs or numbers with leading zeros (e.g. GTINs, order numbers), click each column **before** hitting Finish and set it to **Text**. Otherwise Excel will truncate the values or convert them to scientific notation.
## Done
Your CSV is now loaded into Excel with columns correctly split and data readable. To save: **File → Save As** and choose **Excel Workbook (.xlsx)**.